
Kade Forest
(Ice Sword Level)
General
This is the first level of the final version of our project. The player is required to complete this level in order to continue going further into the Hub World and access the rest of the levels. In this level, the player is taught the basics of our game such as movement, combat, and basic level interactions to solve puzzles or to proceed through the level. The level of difficulty is low since the players are just introduced to the main mechanics that make up our game. They will have the opportunity to practice and master these mechanics later on.
Contribution:
Role: Lead Level Designer
-
Designed and created entire level.
-
Ensured that level fit with the flow of the Hub world.
-
Oversaw progress on other levels.
Reflection:
What went right:
-
Mechanic worked as intended.
-
Playtesters were not lost in most parts.
-
Ignis was the star of the level, as intended.
-
The sword was powerful and fun.
What went wrong:
-
Enemy ai was not set up properly.
-
The sword's hitbox was inconsistent.
-
Void and background was not completely blocked off.
-
There was little feedback to the player when fighting.
Character Ref:
Ember: Movement Character (Yellow)
Ignis: Combat Character (Blue)
Both Characters: (Green)
Ember

Ignis

Full Playthrough
Planning
Design Goals:
Show Power: The sword's main purpose was to make Ignis a temporary powerhouse where the player can go crazy. I added many enemies in the arenas for the player to mow down.
Prioritize Ignis: This level showcases a mechanic for Ignis so I had him be the more important character in the level.
Cold Theme: The level must feel cold by using ice and snow whenever necessary.
Design Rules:
-
Give Ignis more play time than usual.
-
Use snapping size 50 or 100 to speed up construction.
-
Have minimum and safe gameplay in areas of refuge.
-
No required backtracking.
-
No invisible walls with nothing.
Required Sections:
-
Starting Area - The player's spawn.
-
Temple - Where the Ice Sword is located.
-
Arena 1 - A small arena with a little bit of enemies.
-
Mountain - A tall platforming section.
-
Final Arena - A large arena that has a lot of enemies.
-
Cliff - The level end where the amulet can be collected.
My Drafts
Key:

Spawn & Temple Draft:

Mountain Draft:

Walkthrough Maps
Key:

Description:
The walkthrough maps mark the main path of our two characters by using a circle with a reference number and a color. The reference number refers to the step order that the path is taken starting at one. Yellow means that the path is played using Ember (Movement Character), blue represents the same thing but for Ignis (Combat Character), and green means that the path can be taken by either character without affecting gameplay.
Final Map:

Gallery
Click on the arrows to browse photos that match the reference number from the walkthrough map.


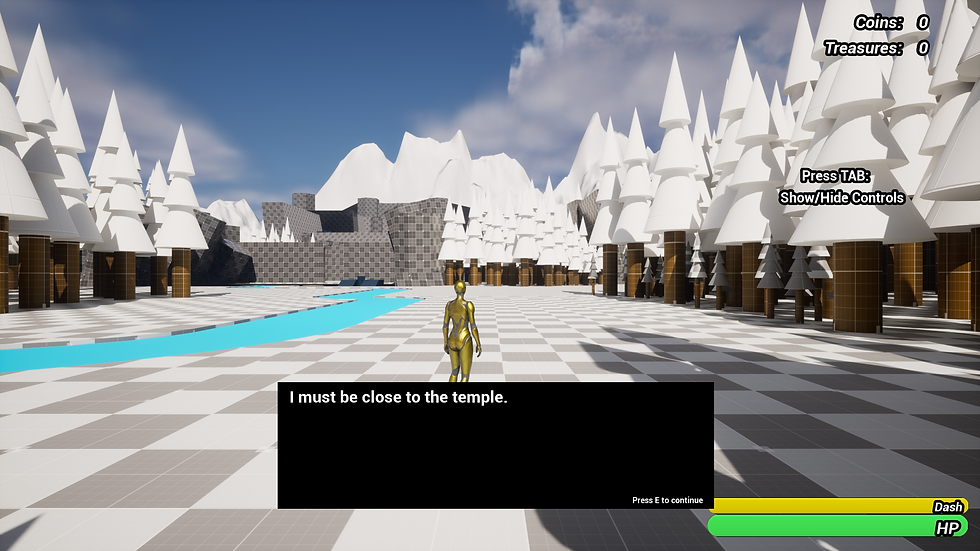
Start & Temple
Description:
This is where the player spawns. Here is where the player is introduced to the Ice Sword for Ignis. The player is also shown simple platforming and combat.
Introduces:
-
Jump
-
Double Jump
-
Dash
-
Dialogue Box
-
Coins
-
Treasures
-
Levers
-
Summoning Pad
-
Ice Sword Pedestal
-
Ice Bridge Pad
-
Regular Enemy
-
Shielded Enemy
Played Characters:
Ember

Ignis


Gallery
Click on the arrows to browse photos that match the reference number from the walkthrough map.


Mountain
Description:
This is the last section of the level and it starts with platforming practice and ends with a large arena with many enemies to fight.
Introduces:
-
Jump
-
Double Jump
-
Dash
-
Coins
-
Treasures
Played Characters:
Ember
Ignis

Gallery
Click on the arrows to browse photos that match the reference number from the walkthrough map.


